


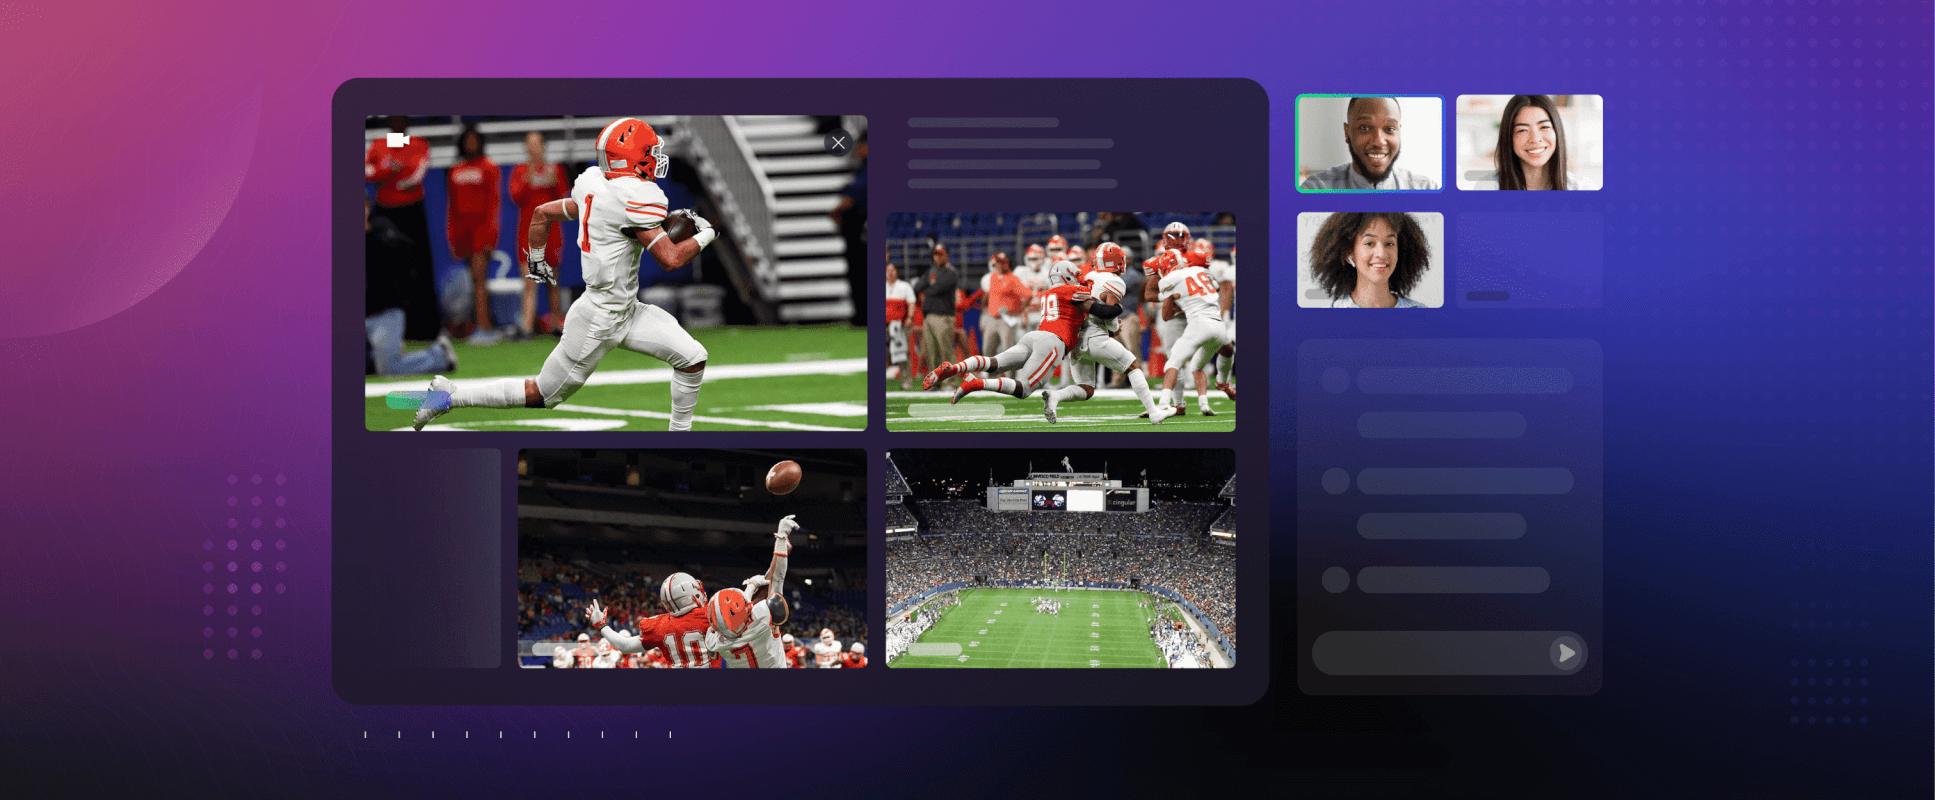
dolby.io enables video conferencing with the true power of voice by using Dolby Voice technologies. Using dolby.io today will remove the unwanted noises and echo, add dynamic audio leveling, optimize bandwidth utilization, and help maintain good audio quality in challenging network conditions.
dolby.io has several how-tos, tutorials, and guides that help you build your own video conferencing using a “Client SDK” for plain JavaScript, a “Client UXKit” for React, a “REST API” for other languages. But what about Angular?
Let’s cook a video conferencing application using Angular along with dolby.io Interactivity APIs and MaterialUI so that it.
Note: You can find the conferencing application in this GitHub repository.

Begin from Angular…
First of all, let’s create a new Angular application. If you are new to Angular and willing to know more about it, you might visit the official page: https://angular.io/start.
mkdir dolby.io
cd dolby.io
npm install -g @angular/cli
ng new conference
The ng new command prompts you for information about features to include in the app. I’d recommend answering “No” on the first question:
? Do you want to enforce stricter type checking and stricter bundle budgets in the workspace?
  This setting helps improve maintainability and catch bugs ahead of time.
  For more information, see https://angular.io/strict (y/N)
I’d suggest answering “No” for the second question (we will add routing later):
? Would you like to add Angular routing? (y/N)Let’s choose CSS for the third question:
? Which stylesheet format would you like to use? (Use arrow keys)
❯ CSS
  SCSS   [ https://sass-lang.com/documentation/syntax#scss                ]
  Sass   [ https://sass-lang.com/documentation/syntax#the-indented-syntax ]
  Less   [ https://lesscss.org                                             ]
  Stylus [ https://stylus-lang.com                                        ]
The ng new command may take 2-3 minutes to create a project and install necessary libraries. After the process ends, you will need to change the current directory to conference created by the command:
cd conferenceAdd Some Colors and Styles…
Let’s enhance the look & feel of our conference by adding a library MaterialUI:
ng add @angular/materialThe command above will guide you through a “MaterialUI” library installation and let you choose a color theme:
ℹ Using package manager: npm
⠋ Searching for compatible package version...
✔ Found compatible package version: @angular/material@11.2.12.
✔ Package information loaded.

The package @angular/material@12.0.5 will be installed and executed.
Would you like to proceed? Yes
✔ Package successfully installed.
? Choose a prebuilt theme name, or "custom" for a custom theme:
  Indigo/Pink        [ Preview: https://material.angular.io?theme=indigo-pink ]
  Deep Purple/Amber  [ Preview: https://material.angular.io?theme=deeppurple-amber ]
  Pink/Blue Grey     [ Preview: https://material.angular.io?theme=pink-bluegrey ]
❯ Purple/Green       [ Preview: https://material.angular.io?theme=purple-green ]
  Custom
You can choose any color theme, though I prefer Purple-Green. Let’s complete the process by answering questions as shown below:
? Set up global Angular Material typography styles? No
? Set up browser animations for Angular Material? Yes
Now you can apply material styles for the application background by modifying src/index.html:
<body class="mat-app-background">
  <app-root></app-root>
</body>
You will need to remove the default content of your application in src/app/app.component.html and make it as the following:
<app-top-bar></app-top-bar>
<router-outlet></router-outlet>
Add Components…
Your application will include several forms, so you have to add routing and some components:
- Create the component
conferencethat will contain a logic of joining to video conference and conference controls (enable/disable video, audio, button “leave”, etc):ng generate component conference - Create the component
create-conferencethat will allow specifying conference options:ng generate component create-conference - Create the component
join-conferencethat will allow entering some personal settings for participant:ng generate component join-conference - Create the component
video-panelthat will serve video streams from all participants:ng generate component video-panel - Create the component
video-playerthat will display a particular video stream from conference participant:ng generate component video-player - Create the component
participantsthat will display a list of conference participants along with their statuses:ng generate component participants - Create the component
top-barfor an application header:ng generate component top-bar - Create the component
welcome-pagefor a start page:ng generate component welcome-page
Now let’s configure paths in our application and add routing to app.module.ts:
// imports

const Router = RouterModule.forRoot([
  { path: '', component: WelcomePageComponent },
  { path: 'welcome-page', component: WelcomePageComponent },
  { path: 'create-conference', component: CreateConferenceComponent },
  { path: 'join-conference', component: JoinConferenceComponent },
  { path: 'conference', component: ConferenceComponent },
]);

@NgModule(
  declarations: [
    // component declarations
  ],
  imports: [
    Router,
    // other imports
  ],
  providers: [
    // ...
  ]
);
Prepare Services…
Now it’s a time to add dolby.io Interactivity APIs SDK to your application:
npm install @voxeet/voxeet-web-sdk@3.1.5 --saveThe installed package contains classes and functions that enable video conferencing operation tools. The most important class for our application is VoxeetSDK that allows interaction with dolby.io services. More information about dolby.io Interactivity APIs can be found here: https://docs.dolby.io/communications-apis/docs
The installed package contains classes and functions that enable video conferencing operation tools. The most important class for our application is VoxeetSDK that allows interaction with dolby.io services. More information about dolby.io Interactivity APIs can be found here: https://docs.dolby.io/communications-apis/docs/js-overview
As long as almost all methods in VoxeetSDK are static, you can use them directly, but I’d recommend adding your service, which will control access to VoxeetSDK methods:
ng generate service conferenceBefore you can work with any SDK function, you must initialize it. There are several ways of initializing SDK, but here I’d suggest using the simplest one, an invocation of VoxeetSDK.initialize() method. More info about initialization you can read in this article: https://docs.dolby.io/communications-apis/docs/initializing-javascript
The dolby.io SDK uses a pair of keys to access dolby.io functionality, so it might be a good idea to not store those keys in source code but receive them from external storage. As such, I suggest using a service to manage your secrets within your project:
ng generate service credentials-vaultThe credentials-vault service may use external storage or use AWS as explained in the following article: https://optiview.dolby.com/blog/generate-access-tokens-using-aws-services
The conference service has to be initialized at the application startup, so let’s add the following to the app.module.ts:
// imports ...

const Router = //... router declaration
@NgModule(
  declarations: [ ... ],
  imports: [ ... ],
  providers: [
      ConferenceService,
      {
        provide: APP_INITIALIZER,
        useFactory: (svc: ConferenceService) => () => svc.initialize(),
        deps: [ConferenceService],
        multi: true
      }
    ],
);
Remember to add the method implementation to the conference service:
export class ConferenceService {
    constructor(
        private credentialsVault: CredentialsVaultService
    ) {}

    async initialize() {
        const credentials = await this.credentialsVault.getCredentials();
        VoxeetSDK.initialize(credentials.key, credentials.secret);
    }

    // other methods
}
Pour Logic…
The main magic will happen in the component conference that creates a video conference on dolby.io and serves a communication between camera, microphone, video conference server. The component will instantiate video conference during the initialization stage:
async ngOnInit(): Promise<void> {
    // read conference id and participant name from URI
    this.conferenceId = this.route.snapshot.paramMap.get('id');
    this.name = this.route.snapshot.paramMap.get('name');

    try {
        // create conference or join to existing
        const conf = await this.confService.join(
            this.conferenceId,
            this.name,
            this.streamObserver
        );
        // other initialization steps
        // ...
    } catch (err) {
        this.error = err;
    }
}
The VoxeetSDK uses an event-based model to inform about changes that happened within the conference. That means you have to add an observer object to control events receiving and acting accordingly. That object must implement the Observer<of type> interface from the RxJs library, and that object you should pass to the ConferenceService.join() method:
private initStreamObserver() {
    this.streamObserver = {
        next: ({ peer, stream, eventType }) => {
            if (eventType === "streamAdded") {
                this.videoPanel.addParticipant(peer, stream);
            } else if (eventType === "streamUpdated") {
                this.videoPanel.updateParticipant(peer, stream);
            } else {
                this.videoPanel.removeParticipant(peer);
            }
        },
        error: (errorMessage) => {
            this.error = errorMessage;
        },
        complete: () => {
        }
    };
}
An invocation of the method join() creates a video conference and joins a requester to it. If at the moment of VoxeetSDK.conference.create() invocation, the conference has already existed, the previously created conference will be returned:
async join(alias: string, name: string, observer: Observer<{ peer: Participant, stream: MediaStreamWithType, eventType: string }>): Promise<Conference> {
    this.streamObserver = observer;

    // load conference details and settings from storage
    const conferenceDefaults = await this.storage.load(alias);

    // open session
    await VoxeetSDK.session.open({ name });

    const conferenceOptions = {
        alias: conferenceDefaults.id,
        params: { ...conferenceDefaults.options },
    };
    // create conference
    const conference = await VoxeetSDK.conference.create(conferenceOptions);
    // join to created conference
    return await VoxeetSDK.conference.join(conference, {
        constraints: { audio: true, video: false },
    });
}
We passed a stream observer to our ConferenceService instance, and the only thing left is connecting conference events with stream updates. For that we should register event handlers and call the Observer.next() method when a new event arrives. Let’s change the constructor of the ConferenceService class:
export class ConferenceService {
    private streamObserver: Observer<{ peer: Participant, stream: MediaStreamWithType, eventType: string }>;
    private allowedEvents = ["streamAdded", "streamUpdated", "streamRemoved"];

    constructor(
        private storage: StorageService,
        private credentialsVault: CredentialsVaultService
    ) {
        for (const eventType of this.allowedEvents) {
            VoxeetSDK.conference.on(eventType, (peer: Participant, stream: MediaStreamWithType) => {
                if (this.streamObserver) {
                    this.streamObserver.next({ peer, stream, eventType });
                }
            });
        }
    }

    // other methods
}
We connected conference events with an observer, and those events leads to invocations of specific methods of the video-panel component. The video-panel component dynamically instantiates a video-player component for each participant, and controls its video stream by setting the property stream.
The component video-player controls a video-stream playback. For doing that, it has a property stream, and, when it is assigned to a value, changes an underlying <video> tag:
get stream() {
    return this.videoStream;
}

set stream(value: MediaStreamWithType) {
    this.videoStream = value;
    if (this.video) {
        if (this.videoStream != null && this.videoStream.getVideoTracks().length) {
            this.video.nativeElement.srcObject = this.videoStream;
            this.video.nativeElement.play();
        } else {
            this.video.nativeElement.srcObject = null;
        }
    }
}
What’s Next
This article only begins to cover what can be done by integrating dolby.io and Angular. The complete source code is available on the git repository: https://github.com/dolbyio-samples/blog-angular-videoconference
To get started, all you need to do is::
- Register on dolby.io and get processing minutes for free.
- Download the source code.
- Add the implementation for the method
CredentialsVaultService.getCredentials(). - Deploy application on your favorite server


")