Using OBS with THEOlive
Open Broadcaster Software (OBS) is a free open-source software created for broadcasting and recording on your desktop. You can take advantage of this tool to stream high-quality video to your viewers using THEOlive.
See the official obsproject.com documentation for installation instructions and additional support about using OBS.
If you haven't already, begin by following the Getting Started tutorial to create a THEOlive channel and start your first broadcast.
Setting up a broadcast
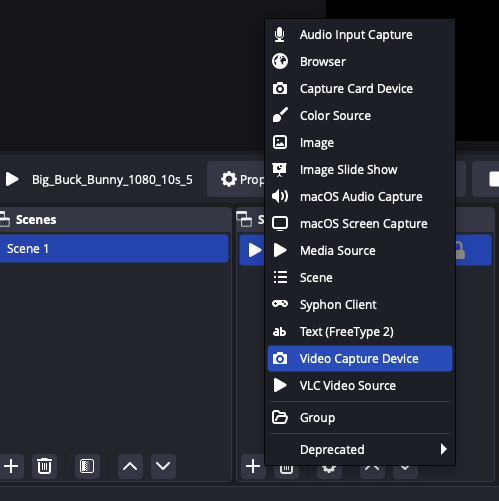
1. Add a source
In the Source section at the bottom of the OBS application, hit the + sign to add a new source. For example, selecting "Media Source" allows you to select an existing media file stored on your machine. Selecting "Display Capture" will record your screen. Selecting "Video capture device" will allow you to select a video input device like a webcam.
2. Configure stream settings
Select Settings in the Controls section at the bottom right of the OBS application. Click on the Stream tab on the left menu bar and configure the following:
- Select "Custom..." as the Service
- Copy your
rtmpPushUrlfrom the channel details page in the THEOlive dashboard URL as Server - Copy your
streamKeyfrom the channel details page in the THEOlive dashboard as Stream Key
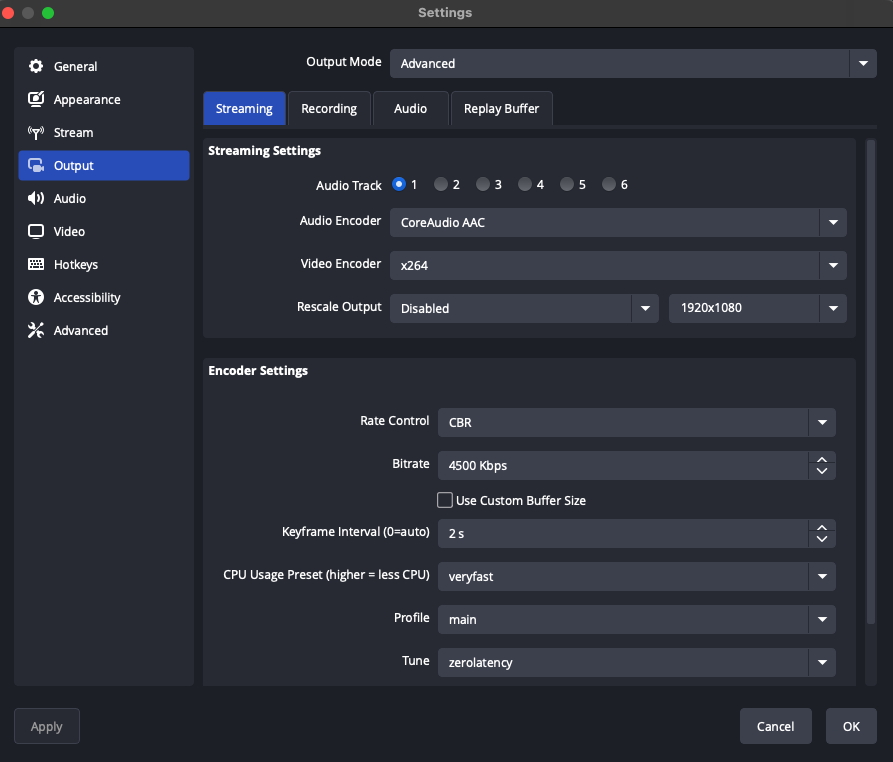
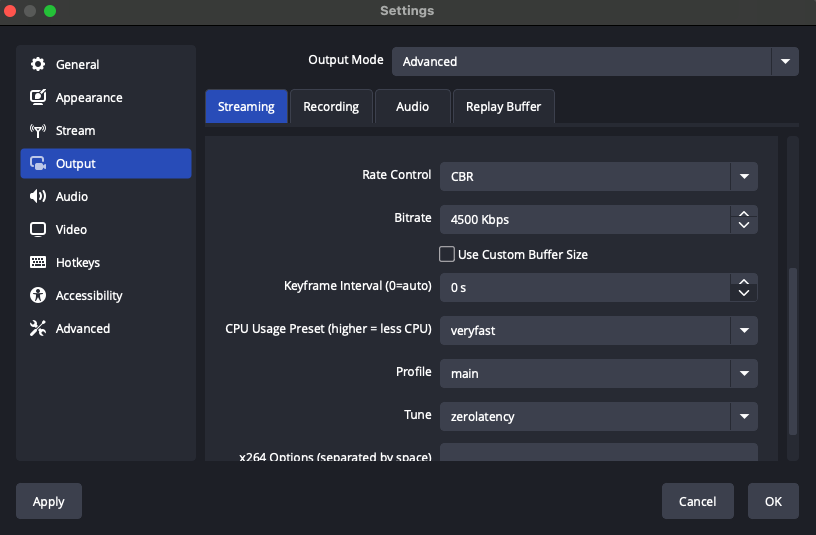
Next, go to the Output tab in the Settings menu, and configure the following settings in order to achieve the lowest possible latency using THEOlive.
- Output Mode:
Advanced - Bitrate: match the max bitrate of the profile used in your channel (e.g.: 4500Kbps for "sport"). More details.
- Keyframe interval:
2s - CPU Usage Preset (higher = less CPU):
veryfast - Profile:
main - Tune:
zerolatency
Lastly, go to the Video tab and set the frame rate to the same value you have set in your THEOlive channel. See Stream configuration for more details.

Make sure that your encoder has a stable connection and enough upload bandwidth. This will ensure all data is correctly sent to the THEOlive channel.
3. Start streaming
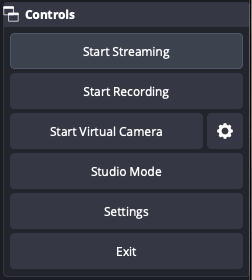
Hit apply on settings, close the window, and click on Start Streaming in the Controls panel in the bottom right corner of the OBS application.
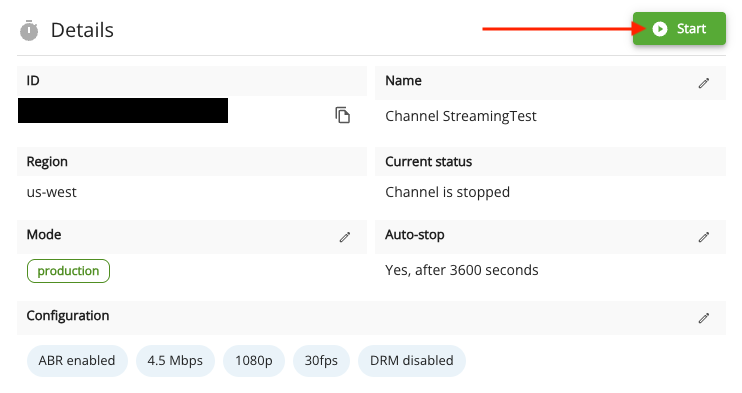
4. Start your THEOlive channel
Your THEOlive channel must be started in order to receive video ingest from OBS. You can choose to start up your channel before or after you start streaming via OBS.
Starting a channel can be done either through the API or via the console.
Feature compatibility and limitations
- Ingest protocol must be RTMP push